

Time to complete: 15 minutesDifficulty: BeginnerPrerequisites: Email or Slack connectionYou’ll build: An agent that drafts outbound messages and waits for your approval before sending them
Why Automate This?
The Problem: Sending the wrong message to a customer or stakeholder is costly — once it’s out, you cannot take it back. Teams either review every draft manually (slow) or skip the review entirely and accept the risk (dangerous). The Solution: A Duvo agent that drafts each message and pauses for your approval before sending. You see exactly what will go out, approve or revise it, and the agent handles delivery — all without switching between tools. Expected Results:- Every outbound message reviewed before it is sent
- Approval decisions reachable from Slack or Requests — no need to open the message editor
- Full audit trail of what was approved, denied, and revised
What You’ll Build
By the end of this tutorial, you’ll have an agent that:- Reads a list of customer cases or emails that need a response
- Drafts a personalized reply for each one
- Pauses and shows you the draft — recipient, subject, and full body
- Sends the message only after you approve it
- If you deny a draft, asks you what to change and regenerates before re-requesting approval
Before You Start
Make sure you have these ready:Email connection — Connect Gmail or Outlook. Add a connection
A source for your messages — This could be a Gmail inbox, a support queue, a spreadsheet of contacts, or a Slack channel. Connect whichever system holds the inputs.
Create Your Agent
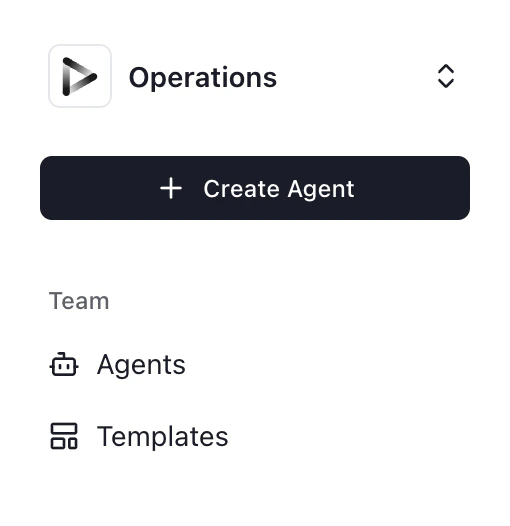
- Click ”+ Create Agent” from your dashboard.
- Select “Use Agent Builder”.
Describe Your Workflow
Paste this prompt into the Agent Builder and adjust it to match your source system:Click “Generate” to create the agent AOP.
Review the Generated AOP
Duvo will generate a structured AOP. Check that:
- The source system is correctly identified (Gmail, in this case)
- The approval title format includes enough detail to decide without opening a separate window
- The revision loop is present — the agent should ask what to change when a draft is denied, not just stop
Configure Connections
Click “Connections” and confirm:
- Gmail (or your email provider) — Connect the account you want to send from.
- Human-in-the-Loop — Already available automatically. No setup needed.
Test the Approval Flow
Run the agent on a single test email before using it in production: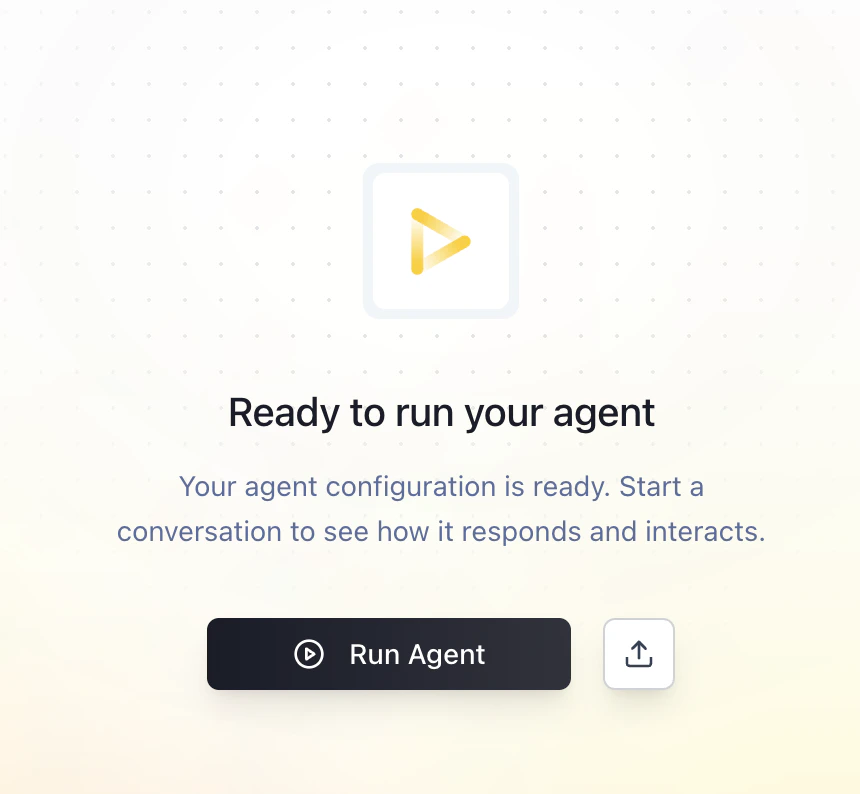
- Click “Start Work”.
- Watch the session log as the agent drafts the reply.
- When the agent reaches the approval gate, a request will appear in your Requests.
- Approve the draft — Verify the email is sent and the label is removed.
- Deny the draft — Verify the agent asks you what to change, revises the draft, and requests approval again.
Respond Directly from Slack
You can approve or deny drafts without opening Duvo:
- Connect your Slack account on the Connections page. The Duvo app must already be installed in your workspace before Duvo can DM you — see Slack for the full setup.
- Turn on Slack notifications in Settings > Requests — connecting the account does not enable them on its own.
- Run the agent again.
- When the approval request is created, the Duvo app sends you a direct message in Slack with the full draft.
- Tap Approve or Deny directly in the Slack message.
- The agent receives your response and continues — sending the email if approved, or asking for revision if denied.
Schedule the Agent
Once testing is successful, set the agent to run automatically:
- Go to Agent Settings > Schedule.
- Choose how often to check for new emails — every hour, or on a custom schedule.
- Save the schedule.
Expected Results
When your agent runs successfully, you should see: In your Requests:- One pending approval for each draft, with the full message body visible in the detail panel
- Requests resolve automatically once you approve or deny
- Only messages you explicitly approved
- Nothing sent that you did not review
- A complete session log showing each draft, your decision, and the final action taken
Troubleshooting
The approval request does not show the full draft
The approval request does not show the full draft
- Check the AOP instruction — Make sure the description field in the approval request explicitly includes the draft body. Edit the AOP and add: “Include the complete email body in the approval description.”
- Check character limits — Very long drafts may be trimmed. Break long messages into shorter ones or include a summary in the description.
The agent stops after a denial instead of asking for revisions
The agent stops after a denial instead of asking for revisions
- Check the fallback instruction — The AOP must tell the agent what to do when denied. Add: “If approval is denied, ask the user what to change, revise the draft, and request approval again.”
Slack notifications are not arriving
Slack notifications are not arriving
- Check the connection — Confirm Slack is connected on the Connections page, and that notifications are enabled under Settings > Requests.
- Check the Duvo app — Make sure it is authorized in your Slack workspace.
Emails are sending without approval
Emails are sending without approval
- Check the AOP — The phrase “only send after I approve” (or equivalent) must appear before the send step. Without it, the agent may send immediately after drafting.
Take It Further
Once your basic approval workflow is running, consider these enhancements:Add a priority flag for urgent emails
Add a priority flag for urgent emails
Skip approval for routine replies
Skip approval for routine replies
Include a confidence note in the description
Include a confidence note in the description
Apply to other channels
Apply to other channels
The same pattern works for Slack messages, social media comments, or any other outbound communication. Replace the Gmail instructions with the appropriate connection and source.
Related Resources
Human-in-the-Loop
Full guide to approval gates and how to write them into your AOP
Requests
Where all pending approvals appear
Customer Response Emails
A tutorial for drafting and sending personalized responses at scale
Expense Report Approval
A tutorial showing threshold-based approval gates in a finance workflow