

Standard Connections
The Available Connections tab displays the standard connections supported by Duvo. Each connection card provides details on the connection’s capabilities.Click Connect on the desired connection
Click “Connect” on the desired connection.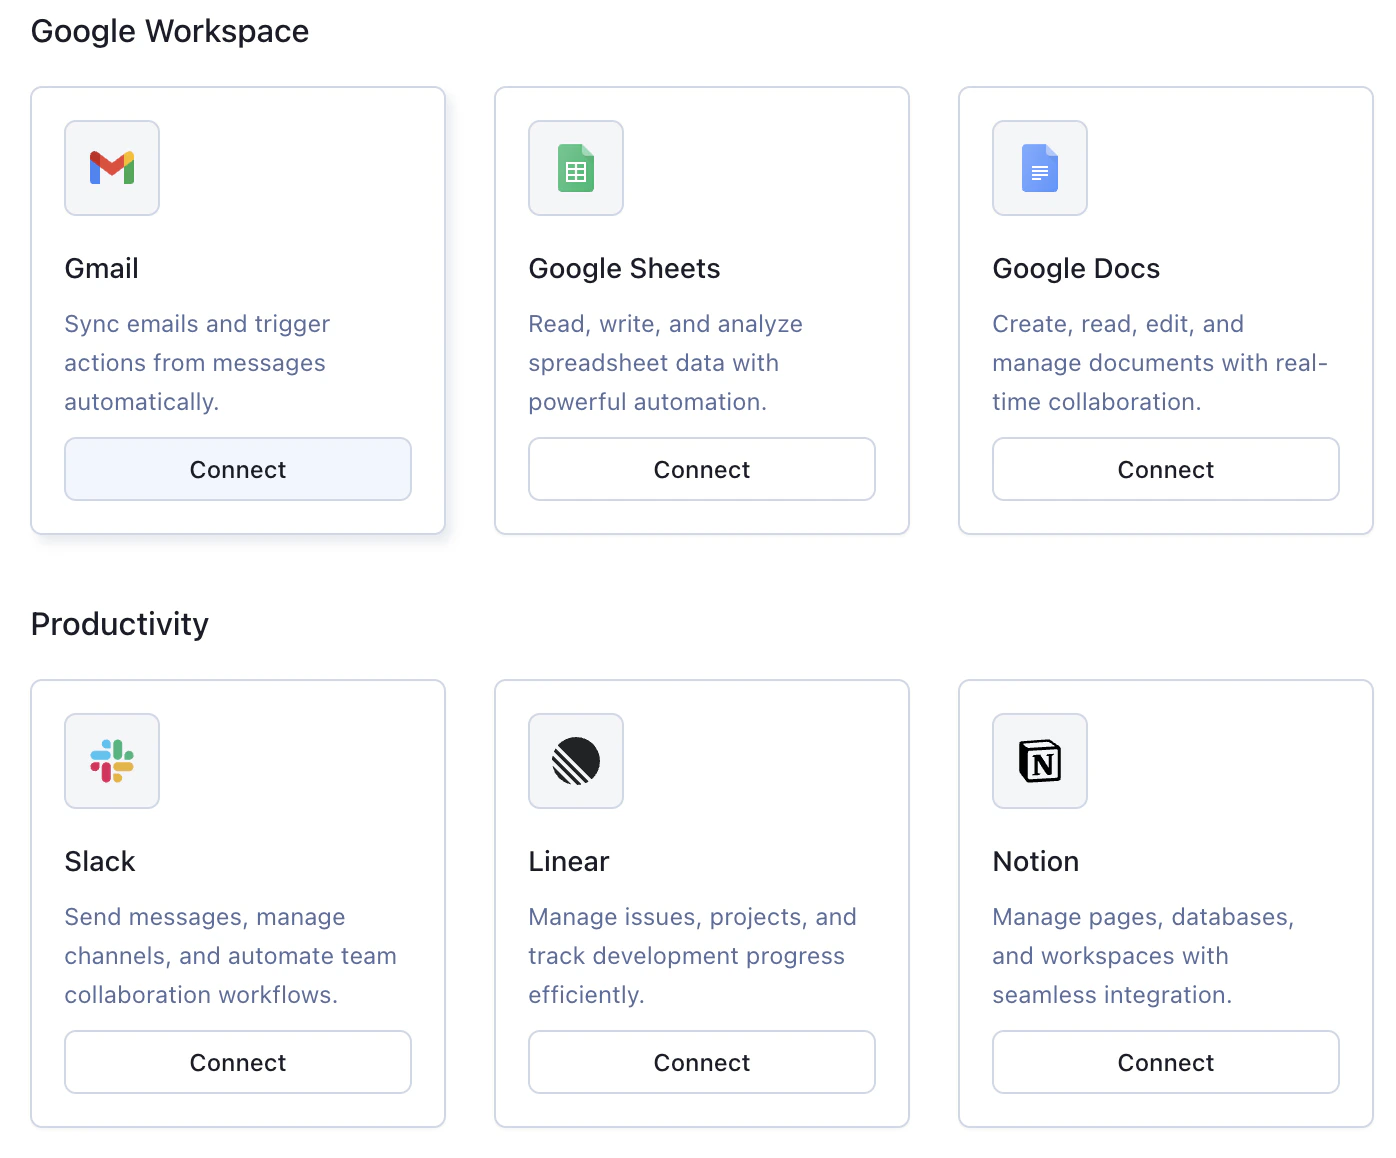
Complete authentication
Complete the authentication steps for the application you’re connecting to.The connection will appear in the “My Connections” tab making its tools available to your agents.
Custom Connections
These can be connected to Duvo in the “Available Connections” tab:Add Custom MCP
Click ”+ Add Custom MCP” button.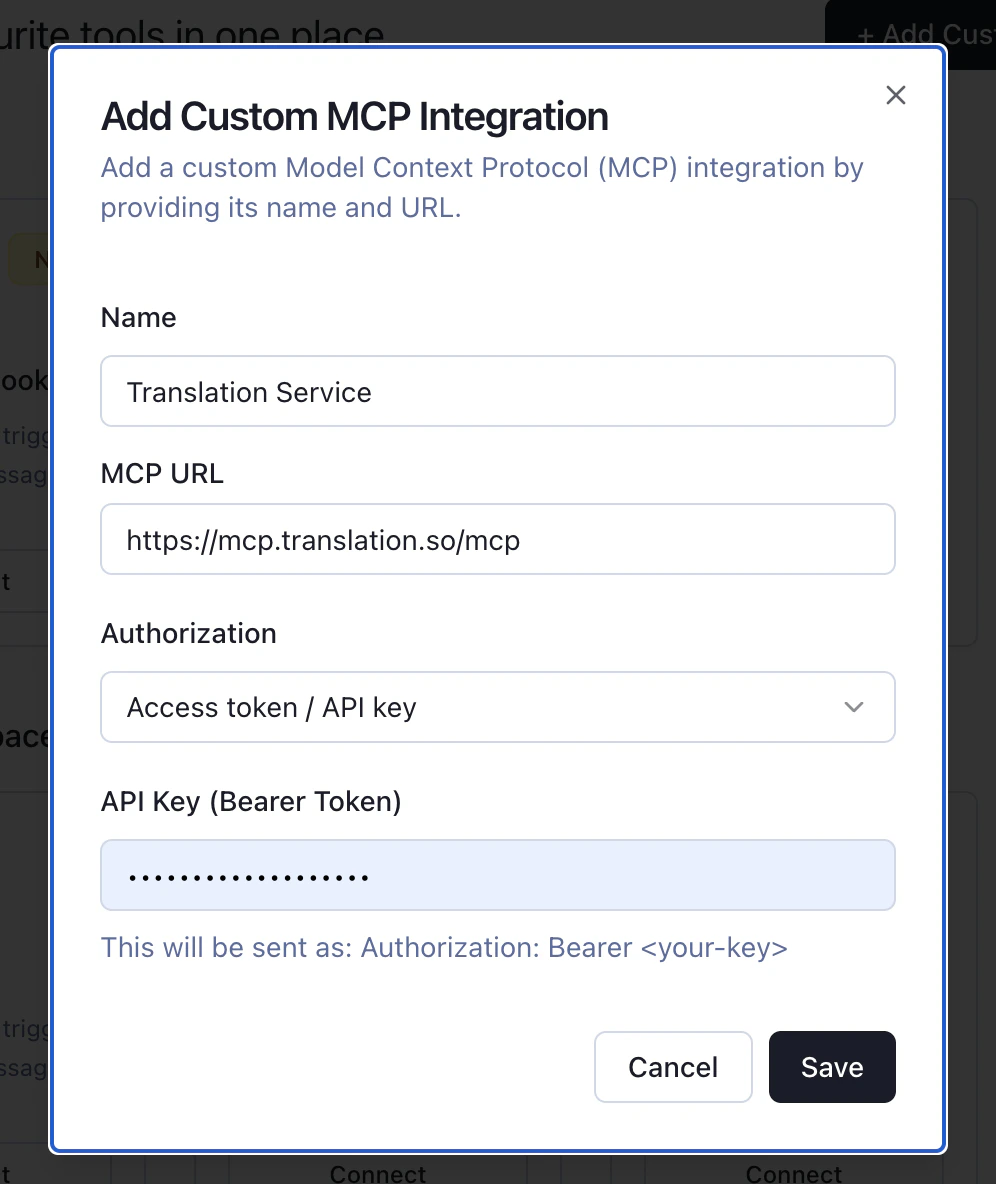
Name
Name: Choose a descriptive name that identifies what system the connection is supporting.
MCP URL
MCP URL: Enter the web address where your MCP server is hosted (e.g.,
https://mcp.yourcompany.com/mcp).Authorization
Authorization: Choose how Duvo should authenticate:
- None: No authentication required
- API Key: Provide an API key for authentication
- OAuth: Use OAuth flow for authentication. Duvo automatically detects whether the MCP server supports dynamic client registration (DCR). If it does, no Client ID or Secret is needed — the connection is handled automatically. If the server does not support DCR, or if you prefer to use your own pre-registered OAuth app, you can provide a Client ID and Client Secret in the Advanced settings section.
Save
Click “Save”.Once configured, the custom connection will appear in your “My Connections” tab, making its tools available to your agents.
Reconnecting a Broken Connection
An OAuth connection stops working when its authorization is revoked or expires at the provider. Duvo marks the connection as broken and shows a Reconnect needed badge next to it in “My Connections”, plus a red accent on the connection pill in the Agent builder. Click Reconnect on the badged connection. Duvo sends you back to the provider’s consent screen and updates the same connection in place, so every Agent that uses it keeps working. Deleting the connection and adding it again would unlink it from those Agents.You reconnect your own personal connection. For a connection shared with the team, the member who shared it reconnects it at Manager and above; anyone else needs Administrator, because reconnecting replaces the stored credential with your own account.