

Time to complete: 15 minutesDifficulty: BeginnerPrerequisites: Expense system access, Email connectionYou’ll build: An agent that routes expense reports to managers every Monday
Why Automate This?
The Problem: Finance teams spend 5-10 hours weekly manually reviewing submitted expense reports, identifying the right approver, and sending email notifications. Reports sit in queues, approvals get delayed, and employees wait longer for reimbursements. The Solution: A Duvo agent that automatically processes submitted expense reports every Monday morning—extracting details, identifying the correct manager, and sending approval requests with all necessary information attached. Expected Results:- Reduce approval cycle from 3-5 days to same-day
- Eliminate 5+ hours of manual routing per week
- Zero missed or forgotten expense reports
- Complete audit trail of all approvals
What You’ll Build
By the end of this tutorial, you’ll have an agent that:- Checks your expense system for submitted reports from the past week
- Extracts employee details, amounts, and receipts
- Looks up each employee’s manager in your HR system
- Sends a formatted approval email with the report attached
- Updates the expense system status to “Pending Approval”
Before You Start
Make sure you have these ready:Expense management system - You’ll need login credentials. Set up logins
Email connection - Connect Gmail or Outlook. Connect connection
HR system access (optional) - For automatic manager lookup. Otherwise, you can specify managers manually.
Create Your Agent
- Click ”+ Create Agent” from your dashboard
- Select “Use Agent Builder” (recommended for this tutorial)
Describe Your Workflow
Paste this prompt into the Agent Builder:Click “Generate” to create the agent AOP.
Review Generated AOP
Duvo will generate structured AOP based on your description. Review it to ensure:
- All systems are correctly identified (expense system, HR system, email)
- The approval workflow matches your process
- Error handling covers your edge cases
Configure Connections
The agent needs access to your systems. Click “Connections” and ensure:
- Expense system - Add logins for your expense management platform
- Email - Connect your Gmail or Outlook account
- HR system (if using) - Add logins for manager lookup
Test Your Agent
Before scheduling, run a test: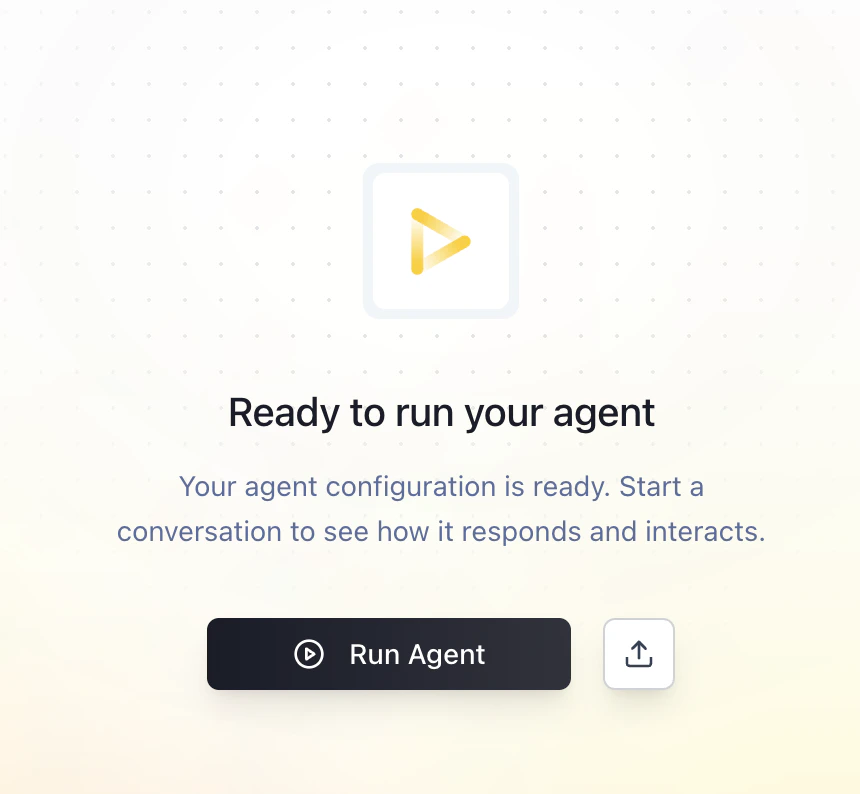
- Click “Run Agent”
- Watch the agent execute each step in real-time
- Review the session log to verify correct behavior
- Did it find the correct expense reports?
- Did it identify the right managers?
- Did the email look correct? (Check your sent folder)
- Did the status update in your expense system?
Schedule Weekly Runs
Once testing is successful, set up the Monday schedule:
- Go to Agent Settings > Schedule
- Select Weekly on Monday at 8:00 AM
- Save the schedule
Expected Results
When your agent runs successfully, you should see: In your expense system:- All “Submitted” reports now show “Pending Manager Approval”
- Activity log shows the agent’s actions
- Formatted approval emails with report summaries
- PDF attachments with full expense details
- Clear approve/reject call-to-action
- Complete session log showing each step
- Audit trail of all emails sent and status updates
Troubleshooting
Agent can't find expense reports
Agent can't find expense reports
- Check filters: Verify the status filter matches your system (e.g., “Submitted” vs “Pending”)
- Check date range: Ensure the 7-day lookback is correct for your timezone
- Check permissions: Confirm the logins have read access to all reports
Manager lookup fails
Manager lookup fails
- HR system connection: Verify logins are correct and not expired
- Missing manager data: Some employees may not have managers assigned—add a fallback in your AOP
- Field mapping: Check that employee IDs match between systems
Emails not sending
Emails not sending
- Email connection: Re-authorize if token expired
- Spam filters: Check if emails are being blocked
- Rate limits: If processing many reports, add delays between emails
Status not updating
Status not updating
- Write permissions: Confirm logins can update report status
- Field name: Verify the status field name matches your system exactly
Take It Further
Once your basic agent is working, consider these enhancements:Add approval thresholds
Add approval thresholds
Include receipt validation
Include receipt validation
Add Slack notifications
Add Slack notifications
Create urgency flags
Create urgency flags
Personalize with Agent Memory
Personalize with Agent Memory
Different users can set their own thresholds. Learn about Agent Memory
- Finance Manager: “Auto-approve reports under $500 from employees in my department.”
- Director: “Auto-approve all reports under 2,000 for my review.”
Related Resources
Human-in-the-Loop
Add approval steps before emails are sent
Agent Memory
Personalize approval thresholds per user
Files
Upload your expense policy for the agent to reference
Refining Your Agent
Improve agent performance over time